How to Build Timeless Wooden Garden Bench Plans for Your Maritime Yard
A wooden garden bench can turn any backyard into a cozy spot where friends gather and kids play.
With a few simple plans you can cut, sand, and finish a sturdy bench using local pine or cedar. The steps are clear and need only basic tools.
Imagine you sketch the shape on paper first. A good draft helps you see the size and where the backrest will sit. For sharp lines, many woodworkers trust a quality graphite pencil, check out the best pencils for architectural rendering.
Once the pieces are cut, glue the joints, then add screws for extra strength. Finish with a coat of natural oil to protect the wood from rain. If you want to label your bench or add a personal touch, look at our hand-painted wooden signs for ideas.
Step 1: Choose the Right Canadian Pine
Picking the right wood is the first thing that can make or break your bench.
Canadian pine is a favorite because it’s strong, easy to work, and smells like the forest.
First, feel the grain. You want a straight, even grain that won’t twist when you cut it.
Next, check the colour. Light amber or pale yellow will let a natural oil finish shine through.
Give the board a quick tap. A solid thud means there’s no hidden rot or cracks.
Look for a knot pattern you like. Some people love big knots for character; others prefer a smooth face for a sleek look.
Make sure the boards are kiln‑dried. That cuts down on shrinkage once your bench dries out in the sun.
If you’re buying in bulk, ask the supplier for a cut list that matches your plan dimensions. That saves you time measuring twice.
And don’t forget the source. A local mill that follows sustainable practices will give you fresh, responsibly harvested pine.
For example, Millena Flooring offers Canadian pine boards that meet these standards and ship across Nova Scotia.
Once you’ve got the right pieces, you’re ready to cut, sand, and start building the bench you imagined.
Step 2: Draft Your Bench Blueprint
Now that you know which pine to buy, it’s time to get a clear picture on paper.
Grab a sheet, a ruler, and a pencil. Sketch the overall shape – a straight seat, a low back, and the legs you prefer. Keep the lines loose; you can tidy them up later. If you like a ready‑made example, YellaWood’s garden bench guide walks you through a 3‑hour build.
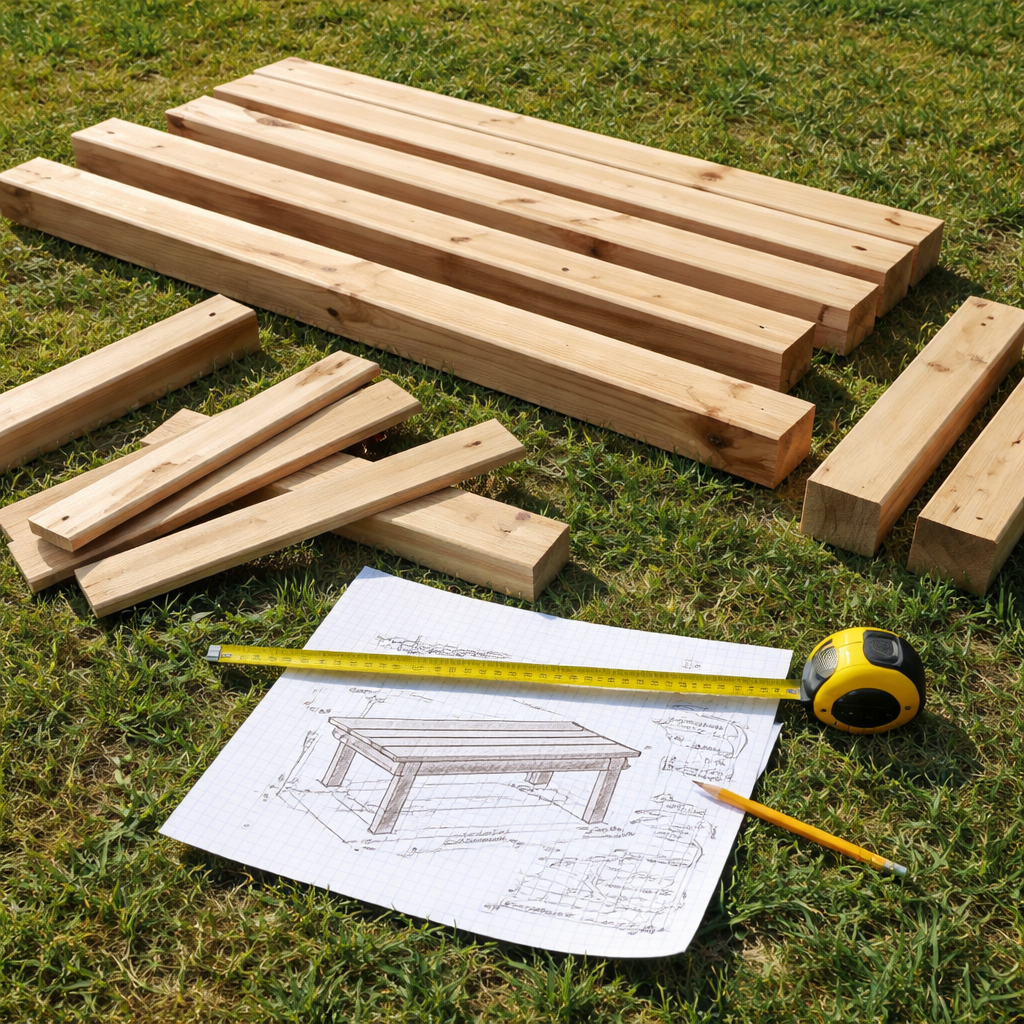
Measure twice, cut once. Write down the length of each member: seat boards, leg stiles, rear support. A typical 48‑inch bench needs two 48‑inch seat planks, two 16‑inch legs, and a 12‑inch back rail. Adjust numbers if your space is smaller.
Turn that list into a simple cut‑list table. Include a column for “quantity” and one for “notes” like “pre‑drill holes” or “use stainless screws.” This little table will save you trips to the lumber yard.
Need a ready‑made template? Check out these free garden bench plans that come with a PDF cut list and step‑by‑step drawings. They’re a solid base you can tweak to match your design.
Finally, double‑check the plan against your actual space. Walk the dimensions in your yard, picture the bench where you’ll sit, and tweak any over‑hangs before you cut the wood.
Step 3: Cut and Assemble the Frame
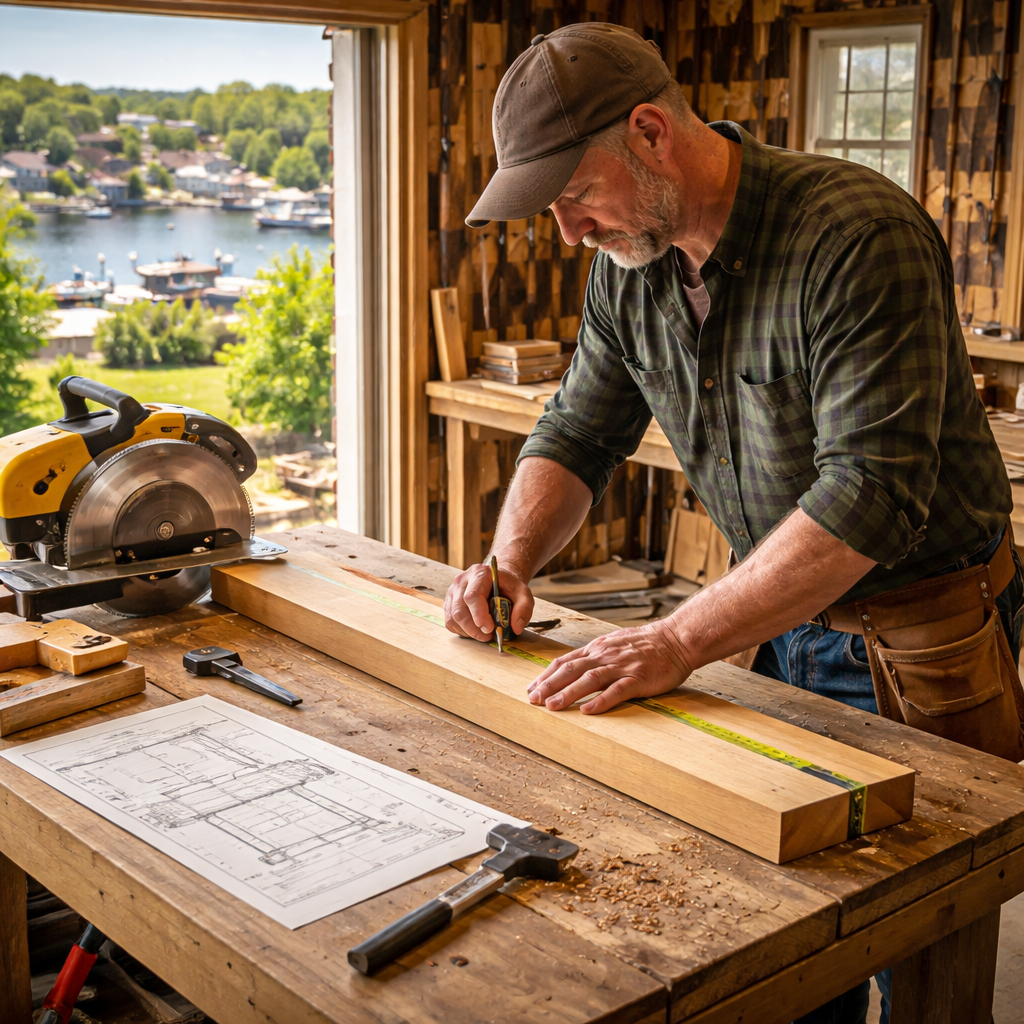
Now the numbers are on paper, so you can cut and start building the frame. Grab a sturdy workbench, wear safety glasses, and keep a scrap of wood handy for a steady back‑stop.
Mark each cut with a sharp pencil. A miter saw or circular saw gives clean edges – a clean edge means the joints sit flush. For a typical 48‑inch bench, you’ll cut two 48‑inch seat boards, two 16‑inch legs, and a 12‑inch back rail. If your space is smaller, just shrink the lengths in the same proportion.
Before you drive any screws, pre‑drill pilot holes about ⅓ the screw diameter. This stops the pine from splitting, especially near knots. A short drill bit works fine for the 2‑inch deep seats you’ll need.
Lay the two legs on the ground, then position the seat board on top. Use a carpenter’s square to check the corners – they should read exactly 90°. Clamp the pieces together so they don’t shift while you screw them.
Drive stainless‑steel screws through the pre‑drilled holes. Stainless steel holds up to rain and sun, which is key for a garden bench. Tighten each screw until the joint feels firm but don’t over‑tighten; the wood should still have a tiny give.
Give the whole frame a quick shake. If it feels solid, you’ve got a square, sturdy base ready for the next step. Many DIYers find it helpful to pick up pre‑drilled lumber from a local craft shop like Atlantic Wood N Wares – it saves a few trips to the yard.
Step 4: Compare Finish Options
Now that your frame is solid, you need a finish that keeps rain out and shows off the wood grain. The choice you make will affect how long the bench lasts and how it looks in your garden.
Natural oil
Oil soaks into the wood, brings out the colour, and lets the wood breathe. It’s easy to re‑apply every few seasons, so you can keep the bench looking fresh.
Exterior paint
Paint gives a solid colour that hides knots and grain. It’s great if you want a bold look that matches a patio theme. A good exterior paint will resist UV and moisture.
Wood stain
Stain adds colour while still showing the grain. It adds a thin layer of protection, then you can seal it with a clear coat for extra durability.
Which one feels right for your space? Think about how much maintenance you want and what style fits your garden.
| Finish | Benefits | Ideal Use |
|---|---|---|
| Natural oil | Enhances grain, easy to touch up | Traditional look, low‑maintenance |
| Exterior paint | Full colour coverage, UV resistant | Bold colour schemes, high‑traffic areas |
| Wood stain | Shows grain, adds colour | Modern rustic look, moderate protection |
Step 5: Apply Hand‑Painted Coastal Finish
Now the bench is built, it’s time to give it a look that fits a breezy garden. A hand painted coastal finish adds a soft wash of colour that still lets the wood speak.
Gather your paints and tools
Grab a low‑sheen exterior paint in a muted blue or sand tone. A small brush, a roller, and a drop cloth will keep things tidy. You’ll also need a fine‑grain sandpaper for the final smooth feel.
First, give the wood a light sand. Wipe away dust with a damp cloth. This step helps the paint grip and keeps the grain visible.
Next, dip the brush and start a thin coat. Paint in the direction of the grain. Let the first layer dry for about an hour, then sand very lightly with 220 grit paper. The sand removes any brush marks.
Does a second coat feel right? Apply it the same way, but this time let it dry fully, a full day of sun or a warm garage works well.
When the paint is dry, seal with a clear marine‑grade varnish. One thin coat will guard the bench against rain and salty air. Now your bench looks ready for tea, books, and sunset talks.
Step 6: Add Personalized Touches
Now the bench is painted and sealed, it’s time to make it truly yours.
Start with a simple stencil. Choose a coastal motif—like a seashell or lighthouse—that matches the muted blue you just applied. Tape the stencil to the seat, dab a soft brush in a different colour, and lift it. The result is a subtle accent that feels hand‑made.
If you want a nameplate, a small wooden sign works great. Cut a narrow pine strip, sand it smooth, then write a short phrase—“Grandma’s Garden” or “Summer Spot”—with a fine‑tip paint pen. A clear coat keeps the lettering crisp through rain.
Add a few hand‑painted metal hooks on the backrest. Hang a tiny basket of herbs or a set of lanterns when evenings get cool. The hooks bolt in place and give the bench a functional, decorative edge.
Don’t forget tiny details: a weather‑proof rope tie‑down for a blanket, or a few brass nails arranged in a pattern along the legs. These tweaks turn a plain piece of wood into a story‑filled focal point.
Finally, snap a photo of your finished bench and share it with friends. Seeing how a personal touch changes the feel will inspire you to try more ideas from your wooden garden bench plans.
Step 7: Install and Anchor Your Bench Securely
Now the bench looks great, but it needs to stay put when a gust of wind or a child hops onto it.
A simple fix is a ground-anchor kit you hammer straight into the soil.
Pick a Hellanker JF anchor set with the matching P503 brackets, they're made for timber benches and let you lift the bench later if you move it.
First, bolt the brackets to each leg using a few stainless screws. Keep the screws level so the bracket sits flush against the wood.
Then place the anchor over the slot in the bracket and tap it with a rubber mallet until the top rests just above ground. The anchor will self-thread as you hammer.
If you want a permanent hold, drive the anchor fully in and tighten the bolt that pulls the bracket tight to the leg. This creates a solid, wobble-free base.
Tip: mark the anchor spots on the ground before you start. That saves extra holes and keeps the legs looking neat.
Because you followed the wooden garden bench plans, the leg spacing lines up with the anchor layout, so the bench stays level even on soft soil.
Give the bench a gentle shake. If it feels sturdy, you’re done, you now have a safe, anchored spot for tea or reading.
Conclusion
You've walked through each step of the wooden garden bench plans, from picking pine to anchoring the final piece.
Now the bench sits ready for tea, books, or a quiet sunset. It feels solid because you followed simple fixes and kept the legs level.
What next? Add a hand‑painted sign from our collection or a tiny lantern for extra charm. A personal touch makes the bench feel like part of your garden story.
Remember, a sturdy bench is just a few tools, a bit of patience, and the right wood. If you ever need more ideas, our wooden garden bench plans are there to guide you again.
Enjoy the calm it brings and let it become a favorite spot for friends and family.
A well‑built bench can last generations.
FAQ
What wood type works best for a wooden garden bench?
Most DIYers find that Canadian white pine strikes a good balance of strength, weight, and price. It’s easy to cut, sands smooth, and takes oil or paint well. If you want extra rot resistance, cedar works too, though it costs a bit more. Pick boards that are straight‑grained and have a few small knots – big holes can weaken the seat.
How do I protect my bench from weather?
First, sand the surface to a fine finish. Then apply a coat of exterior‑grade oil or a marine‑grade varnish. Let each coat dry fully before adding the next. A thin layer of paint with a clear seal works well for a bold colour. Re‑apply the finish every few seasons, especially after harsh winters.
Can I use my own design with the wooden garden bench plans?
Yes, the plans give you a solid framework you can tweak. Change the backrest height, swap the leg style, or add a shelf for plants. Just keep the main dimensions – the seat length, width, and support spacing – the same so the bench stays strong. Sketch your changes first, then measure twice before you cut.
How often should I check the screws and joints?
A quick shake once a year will tell you if anything is loose. Look for any wobble in the legs or creaking when you sit. Tighten any loose screws and add a drop of wood glue where a joint feels soft. If you notice wood splitting, drill a new pilot hole a little smaller and re‑screw.
Is it safe to leave a bench on a sloped yard?
It can be, as long as you level the legs. Use shims or small concrete blocks under the lower side to keep the bench even. Anchor the bench with a ground‑anchor kit if the slope is steep or the soil is loose. A level bench feels steadier and lasts longer.
What finishing touches add personality without much effort?
A simple stencil of a seashell or lighthouse can turn a plain seat into a coastal piece. Add a small hand‑painted sign with a family name or a short quote. Metal hooks on the back let you hang a lantern or a tiny basket of herbs. All of these ideas use tools you probably already have.


