How to Care for Wooden Flower Wall Art: A Warm Maritime Guide
Wooden flower wall art lasts for years when you treat it right.
We hand-carved each piece in Dartmouth, so we know the wood inside out.
First, keep it out of direct sunlight. UV rays fade the paint and dry the grain.
A soft, dry cloth is all you need for dust. No water, no spray, no harsh cleaners.
If a spill happens, wipe it right away with a dry rag. Let it air dry before you touch the piece again.
Avoid placing the art near heaters or air‑condition vents. Heat and cold cause the wood to expand and contract, which can lead to cracks.
For seasonal changes, move the piece to a cooler room during hot summer months, and back when fall cools down.
A quick check each month - look for dust, check the colour, and make sure nothing’s pressing against the back - keeps it looking fresh.
Follow these simple steps and your wooden flower wall art will stay vibrant, just like the day it left our workshop.
If you live in a coastal town like Halifax, the air can be salty. Wipe the surface with a slightly damp cloth once a year and dry it right away to stop salt buildup.
Never apply varnish or paint yourself unless you use a product made for fine wood. Our own pieces come pre‑finished with a clear coat that protects without changing the natural feel.
When you move the art, hold it by the base, not the delicate petals. A gentle hand prevents cracks and keeps the charm alive for years to come.
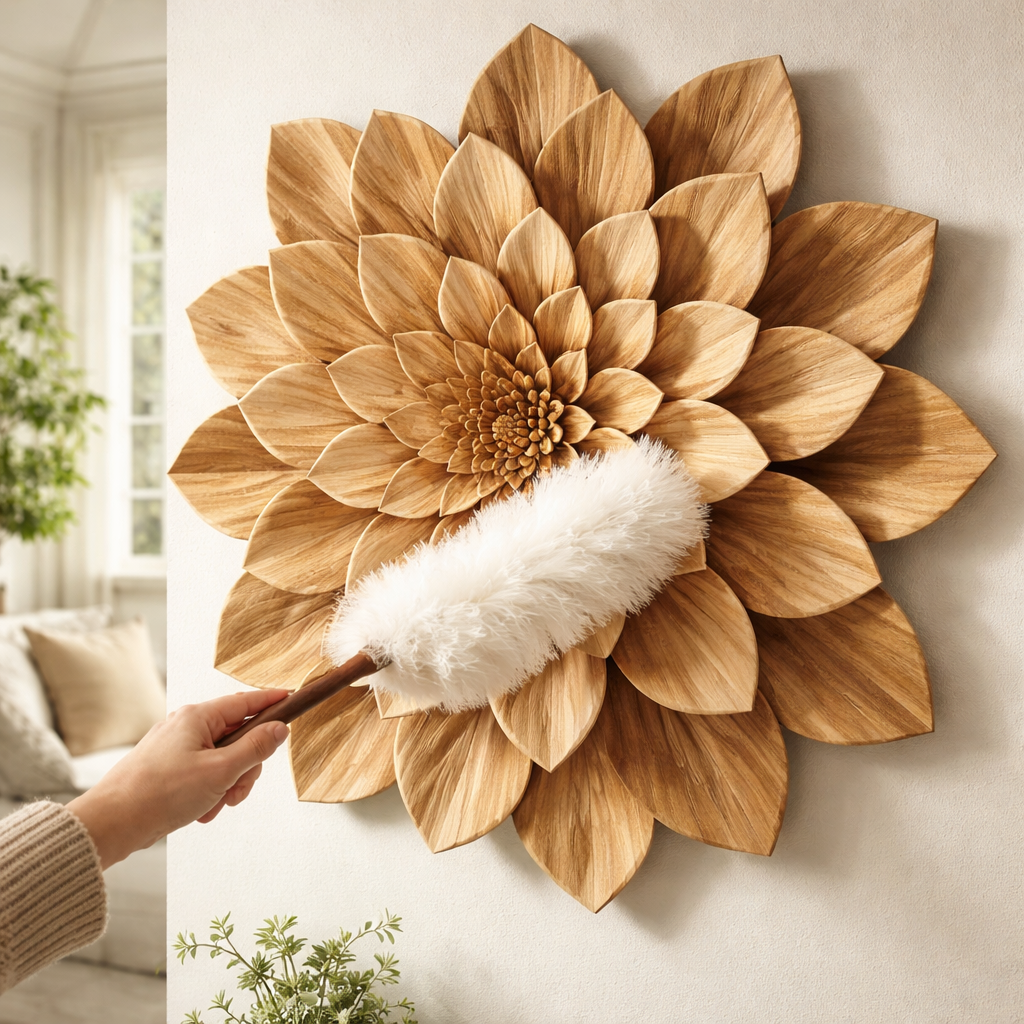
Step 1: Dust and wipe gently
First thing’s first – a soft, dry cloth is all you need. Grab a lint‑free rag, give it a quick shake, and glide it over the petals. You’ll see dust lift away without scratching the wood.
Why does this matter? Dust settles in the tiny grooves of the carving. If you let it sit, it can turn dull and even attract moisture later. A quick swipe keeps the colour bright and the grain safe.
Got a feather duster? That works too, as long as it’s clean and not too stiff. Light strokes, like you’d brush off a table, do the trick.
Watch the edges. The base and back of the piece can collect more dust because they’re less visible. Give those spots a gentle pat, too.
Here’s a tip most people miss: after dusting, let the art sit for a minute before you touch it again. That little pause lets any static settle, so you don’t leave fingerprints.
What about a sticky spot? Use a dry rag first, then a barely damp cloth – just enough moisture to lift the mark, not soak the wood. Dry it right away with another soft cloth.
And remember, don’t reach for harsh cleaners or sprays. They can strip the clear coat that protects the wood.
Keeping a regular dust routine – once a week in high‑traffic rooms, every two weeks elsewhere – will make your wooden flower wall art stay fresh for years.
Need a reminder? Set a calendar note titled “Dust the flowers.” It’s a tiny habit that pays off big.
When you move the piece, hold it by the base, not the delicate petals. A gentle hand keeps the charm alive.
Step 2: Condition and protect the wood
Now that the dust is gone, the wood can breathe. A little care now stops cracks later.
Wood likes a thin layer of nourishment. Without it the grain can dry out, turn pale, or split when the house gets cold.
We like to use a natural oil or a beeswax polish made for fine wood. It slips into the pores and leaves a soft shine that lets the grain show.
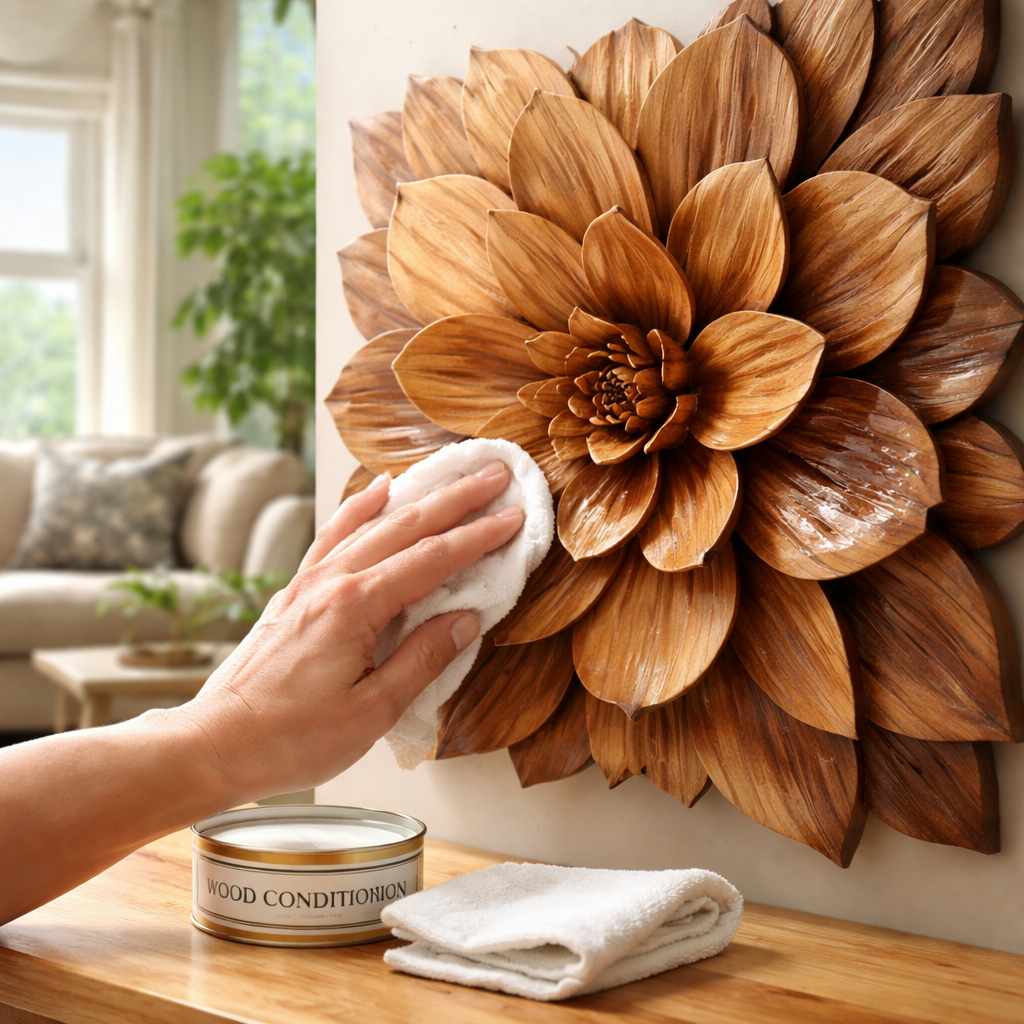
Here’s a quick routine: pick a small amount of oil, test it on a hidden spot for a minute, then spread it with a clean microfiber cloth. Move with the grain, not across it. This keeps the surface even.
After you’ve covered the whole piece, let it sit for 15 to 20 minutes. Then use a second dry cloth to buff away any excess. The wood will feel smooth and look richer.
To keep the finish safe, wipe the art with a dry cloth before you dust. Never spray a cleaner or use alcohol. Those strip the oil and leave the wood thirsty.
Seasonal changes matter too. In humid summer months, a light wipe with a barely damp cloth helps keep the wood from swelling. In dry winter, a quick coat of oil protects against the indoor heat.
You also want to shield the art from harsh light. Hang it where morning sun kisses the room but direct afternoon rays don’t blast the surface. UV blocking window film or a sheer curtain works well without dimming the space.
If you travel with the piece, wrap it in a soft breathable cloth and keep it upright in a sturdy box. The extra care pays off when you hang it back home.
Step 3: Manage humidity and temperature
Wood lives and breathes, so the air around it matters. Too much moisture makes the grain swell; too dry air dries it out. Both can dull the colour and cause cracks.
Watch the moisture level
Grab a small hygrometer and check the room once a week. If the reading sits near the middle of the comfort range – think about the same level most homes keep for people – you’re good.
When the reading climbs above that, a portable dehumidifier or a silica‑gel pack tucked behind the piece does the trick. In the damp summer months along the Nova Scotia coast, a quick wipe with a barely damp cloth also helps keep the wood from feeling soggy.
Guard against dry air
Winter can pull the moisture right out of wood. A low‑mist humidifier set to a gentle output adds back what the heat steals. You’ll notice the wood stays softer and the finish stays smooth.
Another simple fix is to place a shallow tray of water near a heat source – the steam will rise and raise the room’s humidity just a touch.
Temperature tips
Keep the art away from direct heat vents, radiators, or sunny windows. Sudden temperature swings are the worst – they make the wood expand then contract, which leads to tiny splits.
Instead, choose a spot where the room stays around a normal indoor temperature. A wall that gets morning sun but not the harsh afternoon glare is ideal.
Seasonal check‑list
Before the seasons change, give the piece a quick once‑over. In summer, run the dehumidifier for an hour each day. In winter, turn on the humidifier for a few minutes.
When you need to store the art, wrap it in a breathable cloth and tuck a humidity‑control packet inside the box. That way the wood stays safe until you hang it up again.
Following these easy steps helps your wooden flower wall art keep its charm year after year, no matter how the Atlantic weather shifts.
Step 4: Long‑term display and mounting tips
When you hang a wooden flower wall piece, you want it to look great for years.
Pick the right hook
Heavy wood needs a strong anchor. A wall plug and screw rated for the weight does the job. If you drill into drywall, use a toggle bolt. For plaster, a masonry anchor works best.
Mind the wall surface
Studs give the firmest hold. Use a stud finder and fasten the screw into the centre of a stud. If you can’t find a stud, spread the load with two hooks placed a foot apart.
Keep the piece away from heat vents, radiators, or bright sun. Direct heat makes the wood dry and split.
Level and space it
Use a cheap level to make sure the art sits straight. A small gap of an inch or two from the wall lets air flow and stops moisture from building up.
Think of it like a picture frame that breathes.
Check it often
After a month, give the mount a quick wiggle. If it feels loose, tighten the screw. A loose mount can pull the wood and cause cracks.
Do this again after the first winter, when the house dries out.
So, what should you do next?
Make a simple checklist and hang the art with confidence.
| Mount type | Key benefit | Watch out for |
|---|---|---|
| Stud-mounted screw | Strongest hold | Needs stud finder |
| Toggle bolt | Good for drywall | May leave larger hole |
| Masonry anchor | Works on plaster/brick | Harder to remove |
Rotate the piece every six months. A slight turn lets the wood settle evenly and keeps the colour bright.
Consider a soft backing board behind the art. It adds a cushion and stops the wood from rubbing against the wall if the mount shifts.
At Atlantic Wood N Wares we love seeing these pieces live on a wall that gets a little sunshine but stays cool. With the right mount, your wooden flower art will stay fresh for many seasons.
Conclusion
Keeping wooden flower wall art looking fresh is really about three habits: dust often, guard the climate, and check the mount.
Take Sarah from Halifax. She wipes her piece with a dry cloth each week, runs a small hygrometer in the living room, and tightens the screw after the first cold snap. Her blossoms stay bright for years, and she never worries about cracks.
Try this quick checklist:
- Dust with a soft, dry cloth weekly.
- Monitor humidity; aim for 40-55%.
- Use a stud-mounted screw or toggle bolt, then give the mount a wiggle after a month.
- Rotate the art twice a year to let any pressure distribute evenly.
When you follow these steps, you’ll protect the grain and keep the colour vivid, just like the pieces in our Handcrafted Wooden Flowers & Floral Wall Art collection.
Enjoy your art, and remember: a little care today saves a lot of hassle tomorrow.
FAQ
How often should I dust my wooden flower wall art?
Dust it once a week with a soft, dry cloth. A microfiber rag catches dust without scratching the grain. If the piece has deep carvings, a soft brush can reach the tight spots. Wipe in the direction of the wood grain, then pat dry. Regular dusting stops grit from dulling the colour and keeps the finish smooth.
Can I use water or cleaning products on the wood?
Avoid water, spray cleaners, or alcohol. A dry or barely‑damp cloth is all you need for a quick wipe. If a spill occurs, blot it gently with a dry rag before any moisture touches the wood. For stubborn grime, mix a drop of mild dish soap with water, test on a hidden spot, then wipe lightly and dry right away.
What humidity level is best for my wooden flower wall art?
Aim for 40‑55 % relative humidity. Below 40 % the wood can dry out and the paint may crack; above 55 % the grain can swell and look cloudy. Use a small hygrometer to check the room each week. In dry winter months, a low‑mist humidifier helps; in humid summer, a dehumidifier or a silica‑gel packet near the piece does the trick.
How do I safely hang and mount the piece?
Find a stud or use a toggle bolt for heavy pieces. Drill a pilot hole, then screw a sturdy wall anchor that matches the weight rating. Leave a 1‑2 inch gap behind the frame so air can flow. After a month, give the mount a gentle wiggle; tighten if it feels loose. Check again after the first winter cold snap.
What should I do if the paint starts to fade?
If the paint looks a bit dull, start with a gentle dusting to remove any surface grit. For deeper fading, apply a thin layer of natural oil or beeswax polish made for fine wood. Test on a hidden area first, then spread with a soft cloth following the grain. Buff off excess after 15 minutes; the colour should look richer without harming the original finish.
Is it okay to move the art between rooms seasonally?
Seasonal moves are fine as long as you protect the piece. Wrap it in a breathable cloth and place it upright in a sturdy box. Avoid stacking heavy items on top. When you re‑hang it, give the wall a quick dust and check humidity levels. A brief check‑up after the move ensures the wood settles evenly and stays bright.


